
Matcha filter remover
Matcha Filter Remover: Bring Photos Back to Natural Tones
Use Matcha Filter Remover to reduce green cast, coarse pixel blocks, and liquid distortion in a filtered photo. Create a more natural-looking version while following the subject and composition still visible in your image.
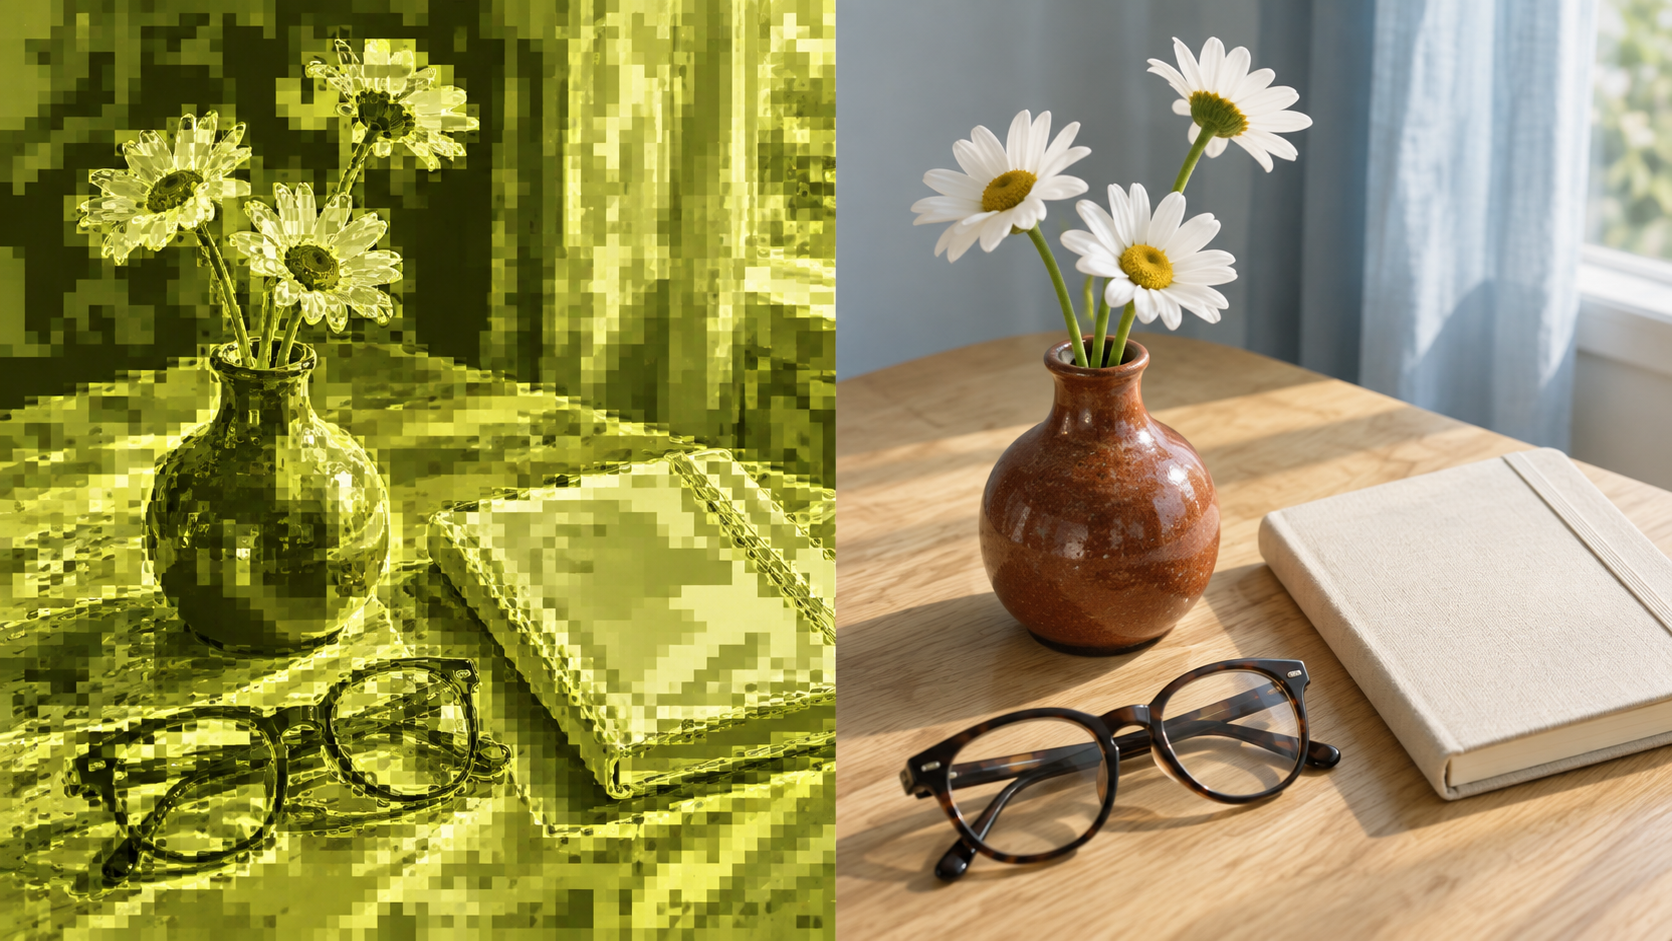
Matcha Filter Remover: before and after
Compare a pixelated, yellow-green still life with a natural-looking interpretation. Matcha Filter Remover aims to reduce artificial tint while retaining the visible arrangement, lighting direction, and naturally green details.
AI-generated reconstruction demonstration. This is not proof of exact original-image recovery; actual results vary.
10 welcome credits · 5 credits per image · Still photos only
How does Matcha Filter Remover work?
Matcha Filter Remover edits a saved photo toward a more natural photographic appearance. It uses the visible subject, composition, and lighting as references while reducing artificial green quantization, coarse mosaic blocks, posterized bands, and warped glossy contours. The aim is a believable new edit that you can compare with the source, especially when the green treatment distracts from a face, object, or everyday scene.
The best starting point for Matcha Filter Remover is a photo whose important shapes remain visible. A mild color cast leaves more useful information than an effect that has replaced a face with large color blocks. The model can estimate plausible skin tones and materials, but a plausible estimate is not the same as a recovered original. Inspect identity, fine text, and important colors before using the result.
If you still have the unfiltered image, use that file instead of trying to reconstruct it. If you have an editable project with a separate effect layer, disable the layer and export again. This page is useful when you only have a flattened photo and want to improve its appearance while understanding the limits of generative editing.
A focused photo edit
What Matcha Filter Remover can improve
A natural-looking edit starts with visible detail
An exported filtered photo no longer has an editable filter layer. AI can reinterpret visible shapes and colors, but cannot recover the exact pixels a heavy filter removed. If you still have the original, use it for an exact result.
Read: How to remove matcha filterUse from your source
- The subject, pose, clothing, and scene still visible
- The original framing and object placement
- Natural greens such as plants or green clothing
Aim to reduce
- Artificial olive or yellow-green color cast
- Coarse square blocks and posterized tonal bands
- Liquid-like contour distortion where detail remains
Three simple steps
How to use the matcha filter remover
- 1
Upload the filtered photo
Use the highest-quality JPG, PNG, or WebP you have, up to 20 MB. Avoid repeated screenshots or compressed copies when possible.
- 2
Run the removal mode
Sign in, keep Matcha Filter Remover selected, and choose Remove filter. Optionally specify what should stay unchanged, such as a green jacket or the background.
- 3
Inspect the natural-looking edit
Compare both images and check skin tones, edges, facial features, and text. Download the result if it fits your intended use.
When to use Matcha Filter Remover
Get a better Matcha Filter Remover result
Separate natural green from filter tint
Tell Matcha Filter Remover which green details belong to the subject, such as a jacket, plant, or painted wall. The goal is to reduce the unwanted overall cast without neutralizing every green object. A short instruction naming the item is more useful than asking the editor to remove all green from the picture.
Make one focused edit at a time
Start with the default Matcha Filter Remover settings and add only the changes you need. Request neutral whites, smoother tonal transitions, or reduced mosaic artifacts before combining cleanup with a new background or a different pose. Keeping the task focused makes it easier to judge whether the output improves the filtered photo you actually uploaded.
Review the result beside the source
Once Matcha Filter Remover completes, inspect both the overall balance and small details. Look for shifted facial features, invented fabric patterns, bent edges, and altered lettering. An attractive result can still differ from the original scene. Save the output as a new version, and keep the filtered file so you can compare later.
AI cleanup, manual correction, or the original file?
Matcha Filter Remover is useful for a generative cleanup of a saved image. For a light green cast, manual white-balance and tint adjustments may be enough and avoid regenerating surface detail. For an exact version of the original scene, the original photo or an editable source project is the strongest option. Choose based on the information you still have.
When the filter has heavily blurred, distorted, or replaced a region, no color adjustment can identify every missing pixel. AI may create a natural-looking interpretation, but it cannot verify hidden details from the edited file. The step-by-step guide explains the workflow and the review points to check before downloading. To create the green look instead, use the separate addition page below.
Matcha Filter Remover questions
Want to create the green look instead?
Start with an unfiltered photo and use the dedicated Matcha Trend Filter page to add yellow-green pixel blocks and liquid contours.